
이제 메인 shell은 Zsh 그리고 거드는 Oh My Zsh
Bash 잘 쓰다가 왜 Zsh 사용을 결심했나
macOS를 업그레이드하고 터미널 앱으로 shell을 실행하니 귀찮은 안내가 계속 나온다. Zsh이 macOS Catalina에서 디폴트 shell이 됐다.
The default interactive shell is now zsh.
To update your account to use zsh, please run `chsh -s /bin/zsh`.
For more details, please visit https://support.apple.com/kb/HT208050.

$
왜 옮기냐고? 이런 메시지 보기 싫어서. 이참에 Bash보다 보다 훨씬 더 현대적이라는 Zsh로 갈아타자.
왜 갑자기 변경됐을까? 뭔가 이유가 있을 것 같아서 찾아봤다.
Bash has been the primary macOS shell since OS X 10.2 Jaguar. For almost sixteen years, MacOS developers have used it to write scripts and issue commands to the underlying operating system. It’s deeply ingrained in how developers work. So, why the sudden change?
In a word: licensing.
For well over a decade, Apple has shipped macOS with a horrendously outdated version of GNU Bash. The default version on the last version of macOS, codenamed Mojave, is Bash 3.2. That dates back to 2007. For context, that’s the same year Apple unveiled the first iPhone.
Despite that, the Bash project is under active development. It reached a major milestone in January: version 5.0.
Newer versions of Bash are licensed under the GNU General Public License version 3 – or GPLv3 for short. This comes with several restrictions which could potentially have caused a few headaches for Apple further down the line.
Why does macOS Catalina use Zsh instead of Bash? Licensing - thenextweb.com
라이선스 문제가 있나 보다. 역시 그냥 좋아서 변경할 것 같진 않았다. 현재 2007년에 릴리즈한 3.2 버전을 shell로 사용하고 있다. 5.0 버전은 GPLv3 라이선스를 사용하고 있어서 오래된 Bash 업데이트를 포기하고 MIT 라이선스를 채택하고 유저층이 많아 검증된 Zsh을 디폴트 shell로 사용하려는 것 같다.
startup files 로딩 순서
Bash 설정을 옮기려면 Bash startup files을 알아본 것처럼 Zsh 시작 파일 로딩 순서를 알아야 한다.
Zsh/Bash startup files loading order (.bashrc, .zshrc etc.) 글에서 설명한 도표를 참고했다.
| Interactive login | Interactive non-login | script | |
|---|---|---|---|
| /etc/zshenv | A | A | A |
| ~/.zshenv | B | B | B |
| /etc/zprofile | C | ||
| ~/.zprofile | D | ||
| /etc/zshrc | E | C | |
| ~/.zshrc | F | D | |
| /etc/zlogin | G | ||
| ~/.zlogin | H | ||
| ~/.zlogout | I | ||
| /etc/zlogout | J |
Zsh 만든 사람이 Bash 시작 파일 로딩 순서로 고통을 좀 받았나 보다. Bash보다는 훨씬 더 정돈된 느낌을 준다. ~.zshenv 파일은 interactive/non-interactive, login/non-login 모든 종류의 shell에서 evaluation을 한다. ~/.zshrc 파일은 interactive shell에서 항상 evaluation을 한다. Bash처럼 ~/.bash_profile 파일에서 ~/.bashrc 파일을 evaluation을 할 필요가 없다.
interactive, non-interactive, login, non-login이 생소하다면 다음과 같은 글을 참고한다.
이제 Bash 설정을 옮길 차례다.
Bash 설정을 옮기려다가 Oh My Zsh
~/.bashrc 에 있는 내용을 모두 ~/.zshrc 파일을 만들어서 옮기면 된다. PATH 같은 건 그냥 옮기면 된다. 하지만 git-completion.bash, bash_completion.d/asdf.bash 과 같은 completion 파일 evaluation이 걸린다. zsh shell 타깃으로 만든 스크립트가 있을 텐데, 그걸 찾아서 바꿔줘야 하나?
내가 뭐 특이한 걸 쓰는 게 아니다. 편하고 웬만한 건 다 있다는 Oh My Zsh이 기억났다.
Oh My Zsh is an open source, community-driven framework for managing your zsh configuration.
Oh My Zsh은 Zsh 설정 프레임워크다. Emacs 설정 프레임워크인 Doom Emacs가 생각났다. 유용한 설정을 웹에서 긁어다 덕지덕지 붙이다 보면 어느 순간부터 .zshrc 설정이 관리가 안 된다. 볼 때마다 새롭다. 설정 프레임워크를 만들고 theme나 plugin 사용을 쉽게 했다. 안 쓸 이유가 없다.
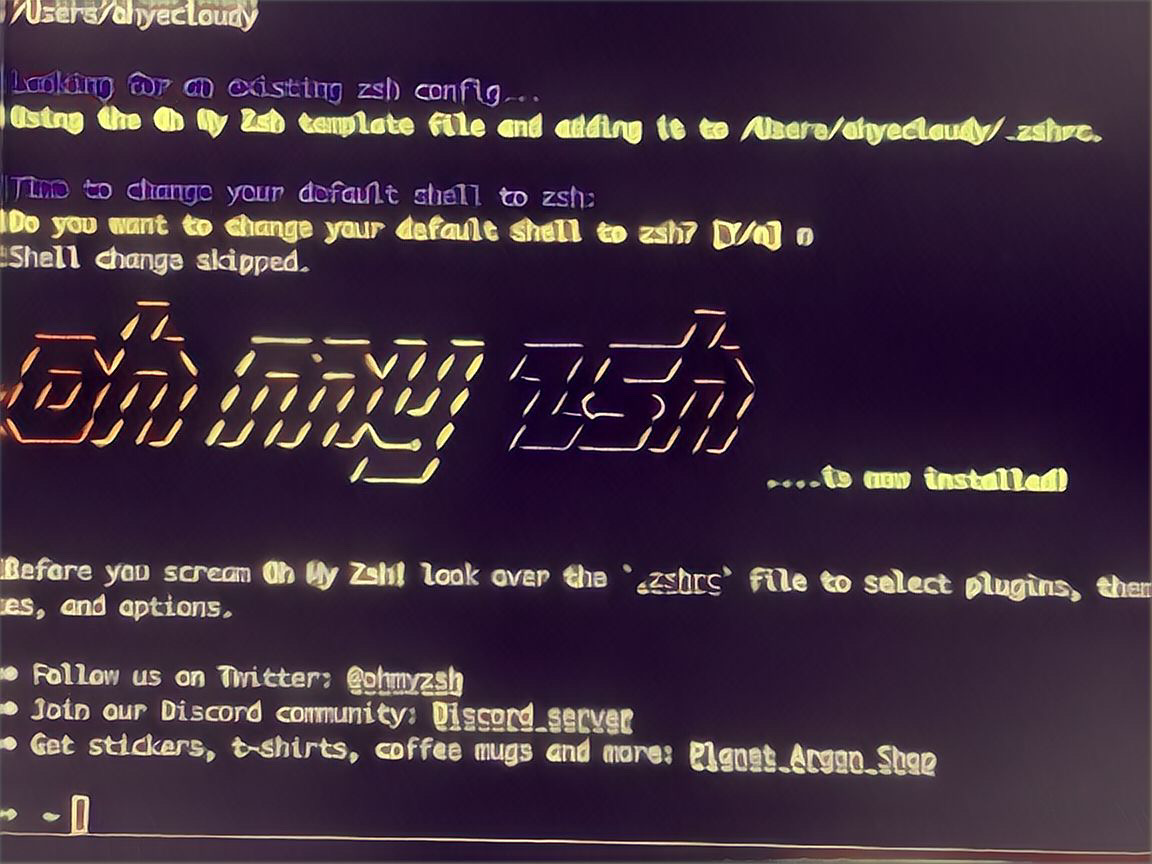
sh -c "$(curl -fsSL https://raw.githubusercontent.com/ohmyzsh/ohmyzsh/master/tools/install.sh)"
설치하고 난 뒤 보는 깔끔한 프롬프트와 색상이 마음에 들었다. Oh My Zsh를 설치하면 자동으로 만들어 주는 .zshrc 파일에 설정을 조금만 추가했다. 내가 쓰는 .bashrc 에서 옮길 게 그다지 많지 않더라.
export ZSH="$HOME/.oh-my-zsh"

ZSH_THEME="robbyrussell"

plugins=(git brew asdf)

source $ZSH/oh-my-zsh.sh

# User configuration

export LANG=en_US.UTF-8
export LC_ALL=en_US.UTF-8
export PATH="$HOME/bin.local:$HOME/bin:$HOME/.emacs.d/bin:$PATH";

# emacs
export PATH="$HOME/.emacs.d/bin:$PATH";
export ELIXIR_EDITOR="ec +__LINE__ __FILE__"
export VISUAL=ec-wait
export EDITOR=ec-wait

# pyenv
export PYENV_ROOT="$HOME/.pyenv"
command -v pyenv >/dev/null || export PATH="$PYENV_ROOT/bin:$PATH"
command -v pyenv >/dev/null && eval "$(pyenv init -)"
plugin이 얼마나 많은지 목록만 봐도 질린다. 유용한 것들은 차차 추가하기로 하고 path 잡기 귀찮은 brew와 asdf만 추가했다.
zsh을 기본 셸로 설정하는 방법
이제 기본 shell을 바꿀 차례다.
chsh -s /bin/zsh
입력하고 터미널을 껐다가 켜면 된다.
Last login: Tue Sep 26 21:51:55 on ttys001
➜  ~
이제 default shell이 바뀌었다는 안내를 안 봐도 된다.
링크
- doom emacs 전환 후기 - ohyecloudy.com
- Bash startup files - 설정을 어디에 넣어야 하는걸까? - ohyecloudy.com
- shell에서 interactive, non-interactive, login, non-login 차이는? - ohyecloudy.com
- Bash (Unix shell) - en.wikipedia.org
- ohmyzsh/ohmyzsh - github.com
- ohmyzsh/ohmyzsh/wiki/Plugins - github.com
- macOS - ko.wikipedia.org
- Oh My Zsh - a delightful & open source framework for Zsh - ohmyz.sh
- Zsh/Bash startup files loading order (.bashrc, .zshrc etc.) - The Lumber Room…
- Use zsh as the default shell on your Mac - Apple Support - support.apple.com
- Why does macOS Catalina use Zsh instead of Bash? Licensing - thenextweb.com
- GNU Emacs - GNU Project - gnu.org
- Zsh - zsh.org